Welcome

Welcome to my spot on the web!


There is much on this site that may not be readily apparent. There are several ways to find your way around.You can use the links bar above to visit my most popular pages, use my archives or simply do a keyword search using the search engine in the navigation bar at the very top of the page.

If you find problems with any of my links not working, please do not hesitate to contact me by email or via my guest book and I'll will try to rectify the problem as soon as possible :)
I have had some problems recently with downloads from 4 shared and am in the process of moving them to another web storage. Please be patient.

And come back soon!


Wednesday 31 December 2008

Using a Mask to Create a Vignette in Paint Shop Pro

This is another quick method of making a vignette .It is the method that I use most.It is not difficult.
My directions here are for PSP 9.


MAKING A VIGNETTE USING A MASK IN PSP.

I will be making an image suitable for a frame approximately 7" X 5" at 300 dpi [ie 2100 X 1500] but you can scale up or down to suit.The same method works well for web sized images.

1 Open the image which you wish to add to your album page.Duplicate and work on the copy.At this stage correct any flaws before adding to your page.[I usually clone out any obvious extraneous material close to my subject at this stage.]
In this image, I removed a lot of barbed wire :)
Crop with a fair bit of space around your image. Resize canvas to a bit larger than what you will need eg 2400 X 1800 to allow for a bit of manipulation.


2 Layer> promote background layer.

3. Then new raster layer named "new background" right click> arrange> send to bottom. Flood fill this with your preferred background colour, gradient or pattern..I've just used an "off white gradient"

4 Back to your image layer.Layer>new Mask Layer>Hide All


oops..image has disappeared :)


5 Lower the opacity of the actual mask so you can see your original picture .I made mine 72%


6. Select your brush tool and choose your round brush . Foreground white and background black and these settings..notice that I have lowered the hardness a bit. [You will need a smaller brush size if working on a smaller image]
[Click on the image below to enlarge it. ]

7. Making sure you are on your mask layer hit the focus of your image with your brush.

8 Return the opacity of your mask layer to 100%


9 Now reduce the opacity of your white brush to about 50% or lower and work outwards from this revealing as much of your image as you wish. To reverse either undo or use your right click and apply black...[great for softening any edges.]
As I work outwards I like to reduce the opacity of my brush even more.

10 I like to save this image with all layers "as is" in case I want to make any final adjustments at a later date.

To use on another image, you have several options. You can copy merged and paste or simply copy the whole mask "group"....handy if you would like to make any fine tuning adjustments later..

My final image


Some fun stuff::
Try stamping around the edges of your mask layer with a patterned brush loaded with white


Have Fun!


MY SCRIPTS

If you click on these images , it will take you to the relevant page.

Link to Overlay Tiles Script
Link to A Folded Ribbon Script
Link to My Neat Bow and Ribbon Script


A Happy New Year

My very best wishes to you all for the coming year.
The card above is one of several attractive free New Year ecards which you can find either in our gallery or card site...

Sunday 28 December 2008

Something Special-A Seasonal Scrapkit

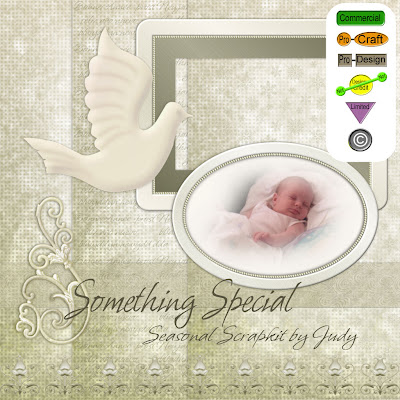
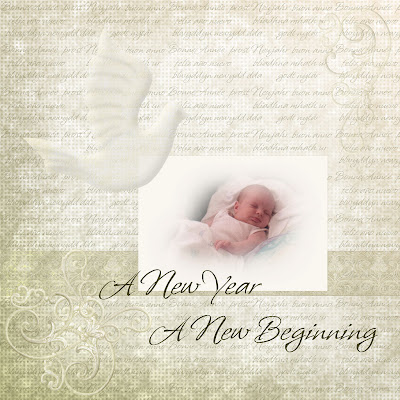
Click to enlarge These special pages and elements were designed for a very special new baby :)


However, I can see that they could be useful for many projects...even your heritage pages.


One background page has an overlay text of Happy New Year in several languages.


If you would like to see more detail , click on the image above or on either of the page examples below.


In these examples I have altered the blend mode and opacity of some of the elements.


You are welcome to use any of the elements in creating person or commercial designs without credit [but it would be nice to include a link back here :) ]


Please take time to read my terms of use included in the KIT Zip which you can download HERE.


If you would like to learn more about the use of these symbols, you may like to visit Click to enlarge


Click to enlarge.


Click to enlarge


Wednesday 24 December 2008

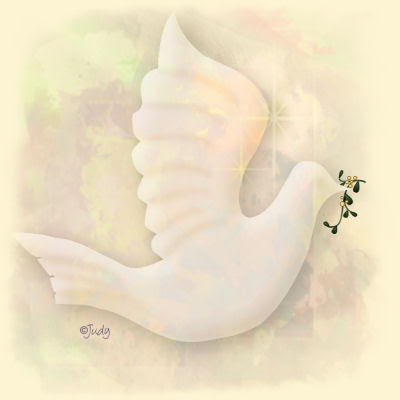
A Christmas Dove and Mistletoe Scrapbook gift

A Very Happy Christmas to all my friends around the world!
This Dove has forsaken it's olive branch for some mistletoe ...:)
Two separate .png files , both at 300 dpi.
ZIP Download HERE
I hope your day is as happy as mine.

Friday 19 December 2008

Just for fun!-a Christmas beanie freebie


Just a fun addition for your Christmas pages :)
Beanie is in .png format...approx 500 X 600 at 300dpi
You can download it HERE
CU ok if incorporated in another image.
Have fun!

Tuesday 16 December 2008

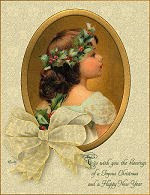
A Vintage Christmas card

Click to enlarge Something a little different.
I thought you might like this vintage style Christmas card to print.
The original image of the wee lass came from a very old Christmas card, as did the small image of holly and bells on the back of the card..[Click on the image above to enlarge if you wish to see more detail]

The bow is from my bow collection.
I have included layouts for A4 paper and American letter size in my zip which you can download HERE The printed card will fit a 7'' X 5" envelope.

The images are at 300dpi . ..further instructions are included.

The card "front" could also make a nice addition to a scrapbook page. :)

A similar design is also available as an e-card from our Gallery


Wednesday 10 December 2008

A Nativity Desktop Wallpaper from Chris

This lovely new desktop wallpaper was made by my friend Chris using papers and elements from my Christmas Scrapkit. Thanks Chris. It is lovely.
Please visit Chris' website to have a closer look and download if you would like it.

Sunday 7 December 2008

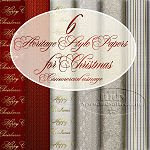
My Heritage Christmas papers

Click to enlarge I have had some requests for just the papers from my Heritage Christmas Kit, so have decided to offer them sepately.
Commercial usuage allowed.

Click on the image above to see more detail.

The papers are 3600 X 3600 and have graduated tonings.

Papers only are $1.00 USD


You can still purchase the full kit HERE.
Link to My Christmas Scrapkit

Friday 5 December 2008

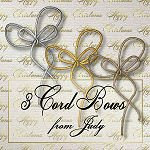
3 Cord Scrapbooking Bow freebies


I hope you find these 3 cord bows a useful addition to my Christmas Scrapkit.
Link to My Christmas Scrapkit
The bows are in .png format and approximately 500 pixels X 900 pixels at 300 dpi.

You can download a zip with my cord bows HERE.

Thursday 4 December 2008

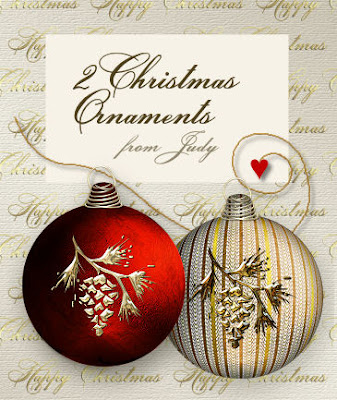
2 Christmas Ornaments

Download zip These 2 freebie ornaments are in .png format at 300dpi ie full scrapbooking size. They are "add ons for" my Christmas Scrapkit.

Zip for download HERE.

Wednesday 3 December 2008

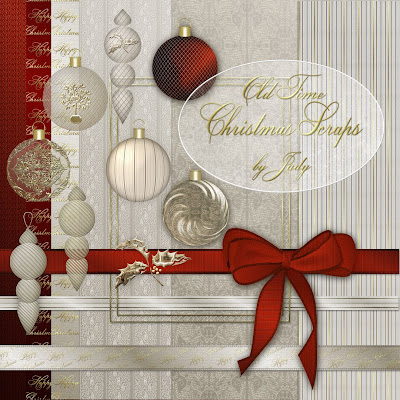
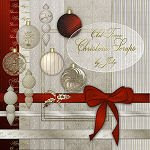
A Christmas Kit with a Heritage look.

Christmas Kit-Click to enlarge You will need to click on the image above to get a better idea of the fine detail in my new Christmas Kit.
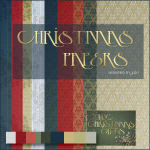
All 6 papers are 3600 X 3600 at 300 dpi and there are 14 other elements in proportion as above.
Several of the papers and the ribbons may be suitable for other projects for your Scrapbook album.
You can use these papers and elements in your creations for sale but they must not be redistributed as they are.
The Kit is available for purchase at $3.00.USD


Once payment is made, I will email download details but please allow a little time to account for world time differences . Please also ensure that you provide a valid email address.

Monday 1 December 2008

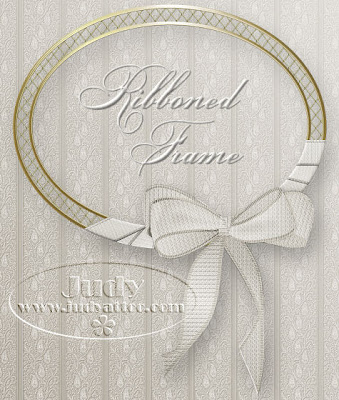
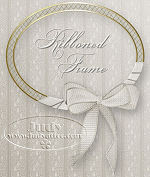
A Pretty Ribboned Frame

Click to enlarge

I made this pretty ribboned frame as a tagger's sized "add on" to my new Christmas kit. Please let me know if you find it useful :)


Zip with .png file and TOU HERE

Sunday 30 November 2008

Saturday 22 November 2008

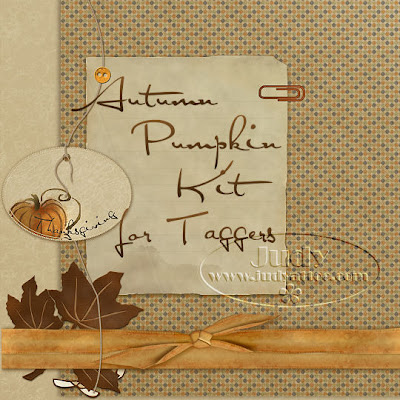
Autumn Pumpkin Kit

tagger's kitThis freebie is a tagger's sized sample from my larger [full scrapper's sized] kit featured below. Available for download HERE.

***********

The full sized version has papers 3600 X 3600 and other elements in proportion as in my illustration...all at 300dpi.

You can click on the kit illustration to enlarge to get an idea of the detail and texture.
The softer neutral papers and some elements would be just as useful for your heritage photos as for a contemporary design.

The kit is 34MB....and is available free HERE
for a limited period .
Please let me know if you find it useful and I love to see your creations!


Click to enlarge
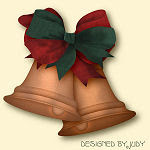
An example: